
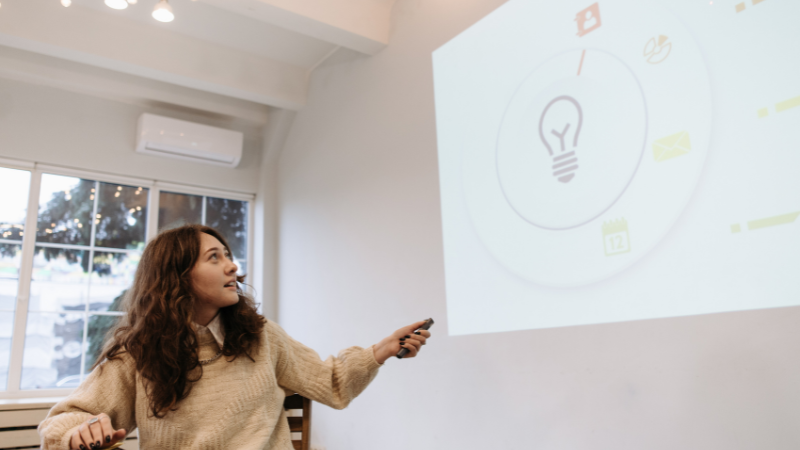
Projectors help present data, games or visuals in an extra-large format. Whether you want to share the latest company statistics with colleagues, play the latest video game or watch a movie with friends, they serve multiple purposes.
A key component of using a projector is having a surface on which you can project images. Typically, a screen is a critical piece of equipment when you are using a projector, but it is possible to use a projector without a screen.
That said, it’s more complex than just aiming your projector at a flat surface and pressing play. There are some important considerations to keep if you plan on forgoing the use of a screen with your projector.
Here’s what you need to know about how to use a projector without a screen.
Table of Contents
Using a Wall as a Screen
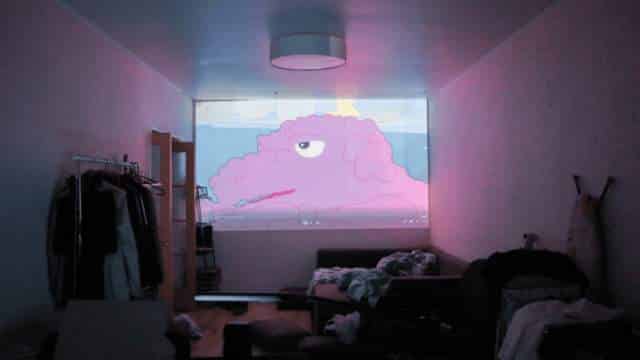
If you don’t want to invest in a screen for your projector, the easiest solution is to project your images or videos onto a wall. However, you’ll need to make some modifications to get the most out of a projector wall.
For this process, you’ll need the following:
- A level
- Painter’s tape
- Pencil
- Projector screen paint
- Black electrical tape
- A roller
- MDF board
Mark the Projection Area
First, position your projector to display an image on your chosen wall. Use the keystone settings to adjust any distortion on the image and focus the image to the desired size. A level helps you determine if the projected image balances on all sides.
Leave about two inches of space below the ceiling to prevent the image from portraying on the adjacent wall. Then, mark the edges along the projected image using a pencil and surround the marked areas with painter’s tape. The tape marks the boundary of your projector wall.
Make it Smooth
The wall texture determines the quality of the projected image. It also impacts the diffusion of the projector’s beam. A regular wall’s rough texture and imperfections show on the projector images. Surface flaws should be evened out to minimize any display issues. Laser projectors do a great job of minimizing the flaws.
Sand all rough sections and bumps, ensuring the wall is smooth. For the best results, turn on your projector and see if there are any shadows on the projected picture.
There are a few reasons you’ll want to ensure the wall’s texture is as smooth as possible. While it all comes down to ensuring the clarity of the image, the nuances behind the quality are worth understanding.
Color Uniformity
An overly textured wall may distort the projected image and cause color shifting. For optimal color uniformity, consider using a wall that has a smooth surface.
Alignment
Using a textured wall makes it challenging to align the projector, leading to keystoning. Keystone is the distortion of the top and bottom parts of an image. What’s worse, if the projector is mounted off-center, you may need help aligning the projected image.
Contrast
Apart from color discoloration, a wall’s texture may affect the contrast of the projected image. A rough surface absorbs light and reduces an image’s contrast, while a smooth wall reflects light while increasing the contrast.
Light Diffusion
A smooth and non-textured wall provides better light diffusion. It helps produce a sharper image by reducing the visibility of pixels. In contrast, a wall that’s too textured scatters the lights and makes an image blurry.
Brightness
A rough surface creates diffraction, which scatters the beam, leading to an unfocused image. Alternately, a smooth wall helps produce the best image quality.
Paint It
Projector screen paint transforms your wall into a movie screen. It is specially formulated for DIY home theaters and painting on projector screens.
The paint you should choose depends on the lighting, the projector lumen output and the projector type. Ultra HD screen paints are ideal for an HD and 4K projector. They portray bright, good-quality videos but are more expensive than other paints.
Choose a self-priming paint for dry walls since you can skip the priming phase. These paints only need one or two coats for full coverage.
You don’t want a glossy paint finish on the projector wall. This finish reflects too much light and highlights imperfections. Choose a satin finish for the wall for better clarity and balance.
Additionally, you’ll want to avoid matte and flat finishes since they absorb light instead of reflecting. As a result, you get dull and blurry images.
Using a roller, paint the walls in smooth and even strokes. Ensure you remove the painter’s tape from the edges while the paint is still wet. Leave the paint to dry before mounting a frame.
Create a Frame
Mounting a frame on the projector wall sharpens the edges around the display. Start by aligning the edges using black electrical tape. Black absorbs the excess light beyond a projector wall, which results in superior image focus.
You can create a solid border using a wooden frame. Measure the top and bottom edges, then cut two pieces of MDF board to that length. Also, measure the vertical screen length and cut two MDF boards for each side.
Join the four wood pieces together to form a rectangular frame. Using L-plates, join the corners and screw the pieces together. You can also paint the wooden frame black to contrast the screen and surrounding wall.
Why a Projector Screen Is Better Than a Wall
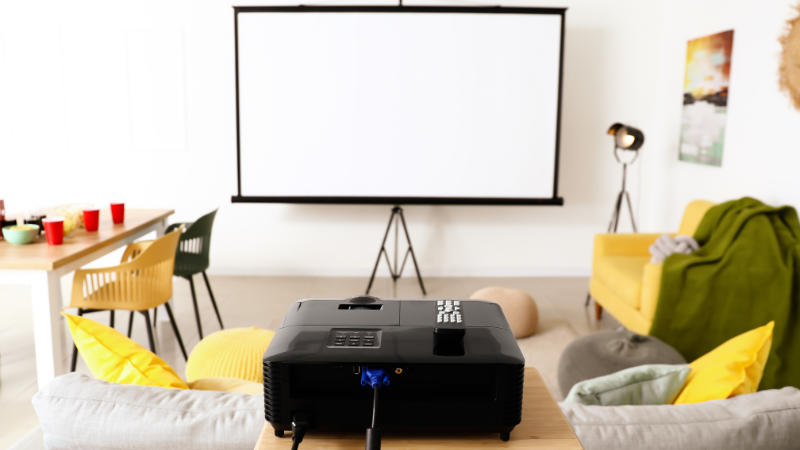
While you might be tempted to forgo purchasing a projector screen, it’s actually worth the investment since projector screens are better alternatives than walls.
Here’s what makes them superior.
Better Clarity
A projector screen has a special coating to enhance its reflective properties. Plus, a screen produces images with better quality and definition. Using a projector screen’s color-neutral surface helps keep the original hue and clarity.
Unfortunately, a wall won’t provide this level of clarity, negatively impacting the quality of your projector’s display.
Portability
Depending on the projector screen you buy, you may have the ability to easily move it from one room to the next. This means you can turn any room into a home theater, gaming den or meeting room.
You don’t get this level of flexibility with a projector wall.
Cost & Installation
In some situations, it’s cheaper to buy a projector screen than to build or renovate a wall to display images or videos. Some screens can cost less than $20.
At that price point, you’d be hard-pressed to buy the supplies needed to transform your wall into an ideal surface for your projector.
Fits More Seamlessly Into a Home
If you are using your projector in your home, chances are you don’t want an entire wall dedicated to accommodating displays. Having an empty wall free of artwork or family photos doesn’t lend itself well to most aesthetics.
With a projector, you can leave your beloved photos and favorite works of art on the wall, then pop up or pull down a screen to cover it up when it’s time for movies. Once the movie is over, you can put the screen away and restore your home’s decor with minimal effort.
No Issues with Color
If your wall is the wrong color, it impacts the visual quality of a projected image. Plus, if your wall doesn’t have the right coating, the reflective properties to properly display images will be lacking.
The wall must be completely white to achieve the best display. This is because white is a more reflective color than any other hue. If the wall is dark, the graphics won’t be clear and will melt into the darkness.
Since projector screens are made to be used with a projector, you won’t have any issues with the color.
Texture is Not a Problem
If you are working with an uneven wall, you will inevitably encounter problems with any image you project onto it. Even if you think your wall is smooth, chances are it has some texture to it.
Most walls have lumps, bumps and cracks that you can feel if you run your hands across them. These can cause shadows and imperfections in projected images, making the picture less crisp and bright.
The only time this might not be an issue is if you have a projector that produces low-quality images. If this is the case, you might not notice the issues with picture quality as much. However, the imperfections will stand out if you have a high-quality projector.
Fortunately, with a screen, you don’t have to worry about this issue.
Summary
Projectors offer an inexpensive way to make presentations and display digital content.
A projector without a screen can be an excellent option for displaying visuals or data. However, the wall color, positioning and texture are important considerations when using a projector without a screen.
When using a wall, paint it white with a satin finish to make the projected image more vivid. Also, don’t forget to smooth your wall to ensure imperfections don’t reduce the image quality.